 Seriously, do you really need more reasons to make these? If you do, DIY Natural has a lengthy post on the benefits of making dryer balls. If I've persuaded you enough, you just need:
*100% wool yarn (one skein makes two balls, two skeins make four balls)
*One leg of a pantyhose (you know, that pair you've kept in your drawer because there's a run in the thigh but you can't bring yourself to throw it away because if you wear long skirts maybe no one will notice)
*Some string (I used embroidery thread)
*Scissors
Start by taking the yarn and wrapping it around your index and middle finger 10 times (give or take).

By grabbing the middle, slide the yarn off your fingers and wrap the yarn 10 more times around the middle.

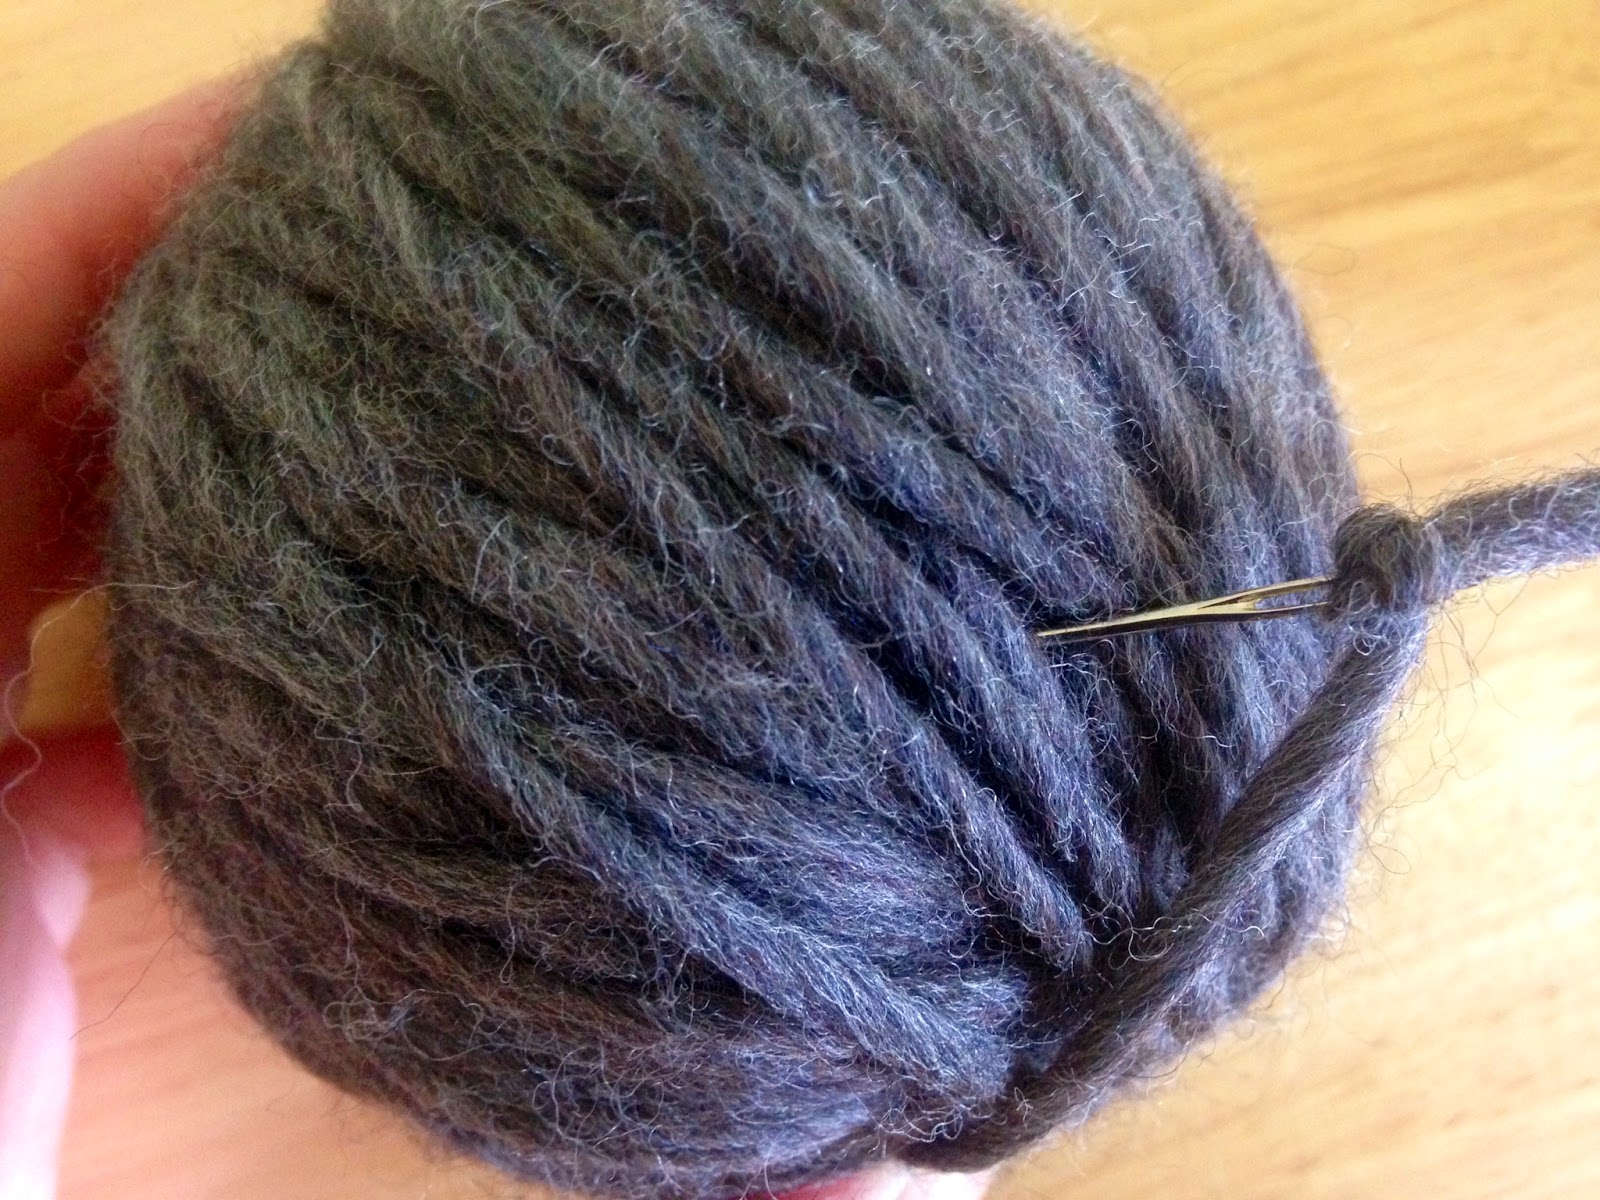
Keep turning and wrapping until it starts to form a ball. The size of the ball is completely up to you.

Once it's the size you like, either using a needle or your fingers, tuck in the end inside the ball.
Take your grandmother's pantyhose and slice off one leg. She'll never notice.

Stick a ball of yarn all the way down to the toes and tie a piece of string at the end, to separate it from the next ball of yarn. Do this for each ball, and then play with your yarn caterpillar. I was able to spin mine like a lasso. Freaked the cat out but it was fun.

Now the original post says to put these in with a hot wash and a cold rise cycle. That's way too fancy for my 1985 washing machine so I just put my caterpillar in on the "whites" load. When it comes to drying, put it on the hottest setting (again, depending on your dryer, it might just say "whites"). The original post says you might have to go through the washing/drying process 3-5 times but for me, the first time did it. I put it in another wash/dry, just to be safe, but the yarn strands weren't separating one bit.
Here what it looked like after the first wash/dry:

And here's the second wash/dry it went through. Not much of a difference, as you can see, just made it smaller:

Now they do shrink a bit. Before I put them in the washer/dryer, my balls of yarn ranged from baseball to softball size. Here are some before and after shot of the yarn balls next to a baseball and tennis ball to give you some frame of reference.
 |
| Before |
 |
| After |
So grab your mom's yarn (sorry Mom), grab your laundry, and go on with your eco-friendly self!

TOTAL COSTS: $14.37
$6.99/skein of yarn from Michael's (I used two skeins)
$.39 for embroidery thread from Michael's (but you could use string)
Old pantyhose and scissors already on hand
TOTAL AMOUNT OF TIME: About 2 hours
20 minutes to make four balls
5 minutes to make the pantyhose caterpillar
1 hour, 30 minutes to wash and dry the balls
EASY-PEASY SCALE (1 super easy - 5 very difficult): 1 out of 5
It's super easy, you could even have your kids help by holding onto the skein while you roll it into a ball!
No comments:
Post a Comment