 I've never done nail art before. Heck, I've never put more than one color on my nails. Ever. But when I saw how easy these water marble nails were from TheBeautyTutorial, I knew they were easy enough for an amateur like me to give them a try. If I can knock these out of the ballpark on my first try, then I know you can too!
Start by gathering:
* 3 contrasting nail colors (I went with yellow, blue, and green)
* A plastic bag
* A toothpick
* A pair of tweezers
Start by pouring some of your base color onto the plastic bag. You can use the brush in the bottle if you like, but I found pouring to be a lot faster and easier.

Then add your contrasting colors on top. Again, you can either use the brush...

... or you can pour straight from the bottle.

Using your toothpick, make short lines up and down or swirl around to make the colors mix. Do as much mixing or as little mixing as you like.

Depending on how much nail polish you use, give it a couple hours to completely dry. Mine took 2 hours (even at an hour and a half it still wasn't completely dry and it's 100 degrees in my apartment!)

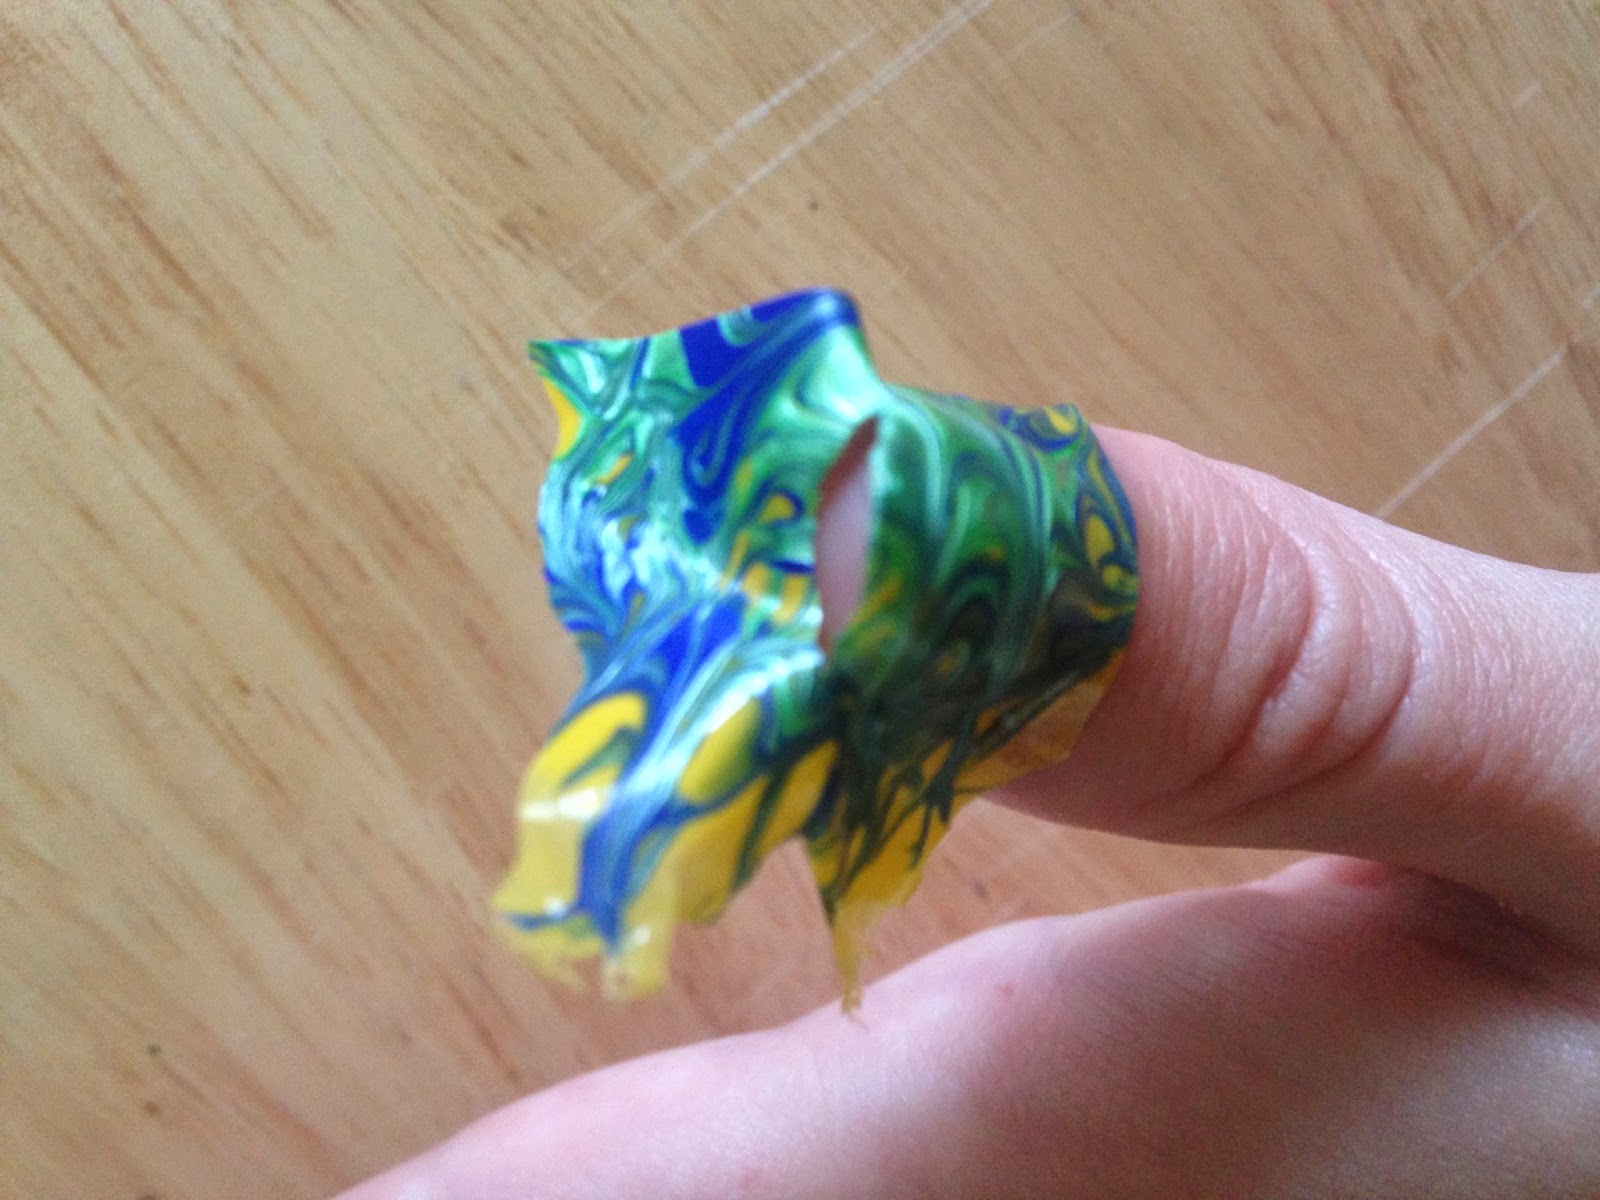
Once it's dry, very carefully take off the polish from the plastic bag. I found it worked best when I used my nails to pry off a corner and then I used the tweezers to pull off the rest. Go slow or you'll end up ripping off awkward-shaped strips.

But before you completely rip off all the polish from the plastic bag, paint your nails the base coat color and let them be tacky (almost dry) before applying the marble polish.
Now you can either do big pieces or little pieces but I found it worked best to put the marble on the nail and cut off the excess around the nail. Then go to the next nail, press the marble polish to the nail and cut off the excess. Do this for each of your nails.

Once all the nails are covered, now it's time to clean them up. I used my fingers to carefully peel and remove the excess around the nail but you could use scissors or tweezers as well, whatever's easiest for you.
 |
| I peeled off the marble polish around the nail |
If you want to add a top coat, you can, but when I tried it, it started to screw up the design so I skipped that step. If you're more patient than I am, you can add it, but I did the dishes later and none of it chipped off!
Note that I only made enough for one hand so if you want to cover all fingers, cover a fair amount of the plastic in polish. You'll use more than you think.
 |
| Remaining polish |
And there you have it, your very own marble nail art! Now go forth and make cool designs!


TOTAL COSTS: About $7 (prices from Rite Aid)
$.99 for NYC Long Wearing Midtown Mimosa (yellow)
$2.99 for Jesse's Girl (blue)
$2.99 for Jesse's Girl (green)
Toothpick on hand, but you could use a stick or utensil
Tweezers on hand, though you could peel it off with your fingers
TOTAL AMOUNT OF TIME: About 2 1/2 hours
5 minutes to mix colors
2 hours to let dry
5 minutes to paint nails and get tacky
15 minutes to apply marble and clean up excess
EASY-PEASY SCALE (1 super easy - 5 very difficult): 2 out of 5
I thought this was going to be a lot harder than it was but it was really quite simple. You might have some difficulty peeling the marble polish off the plastic bag but go slow and it'll eventually come right off!
I'm just getting through the first nail art thing you suggested with the eye shadow - this is VERY cool.
ReplyDelete